
Search
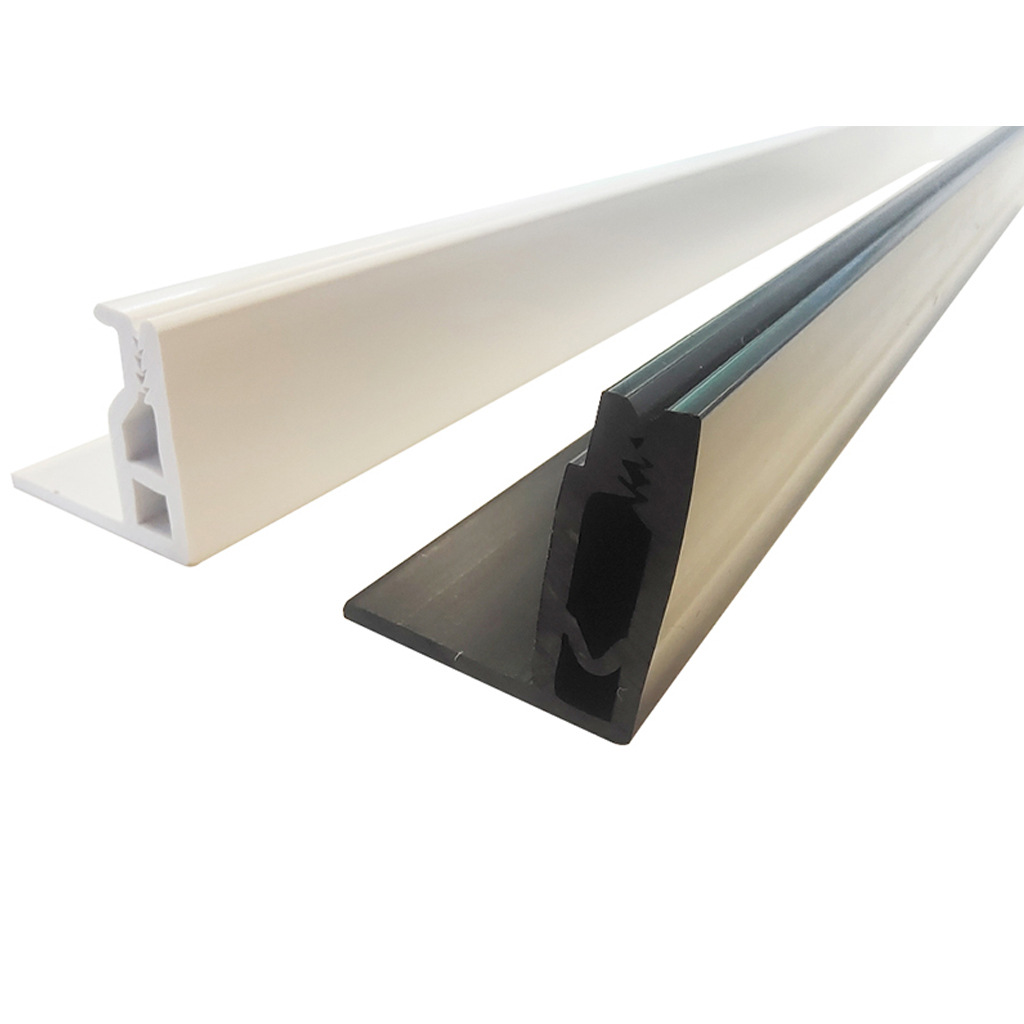
A fabric wall system uses perimeter and joint tracks to tension a finish fabric over an acoustic core. The track must hold the textile, create clean edges and allow installers to form corners, reveals and transitions without damaging the fabric.
Selection should be coordinated with the substrate, acoustic infill, fabric thickness, panel geometry, fire requirements and maintenance plan. A track that grips one textile well may be too aggressive or too loose for another.
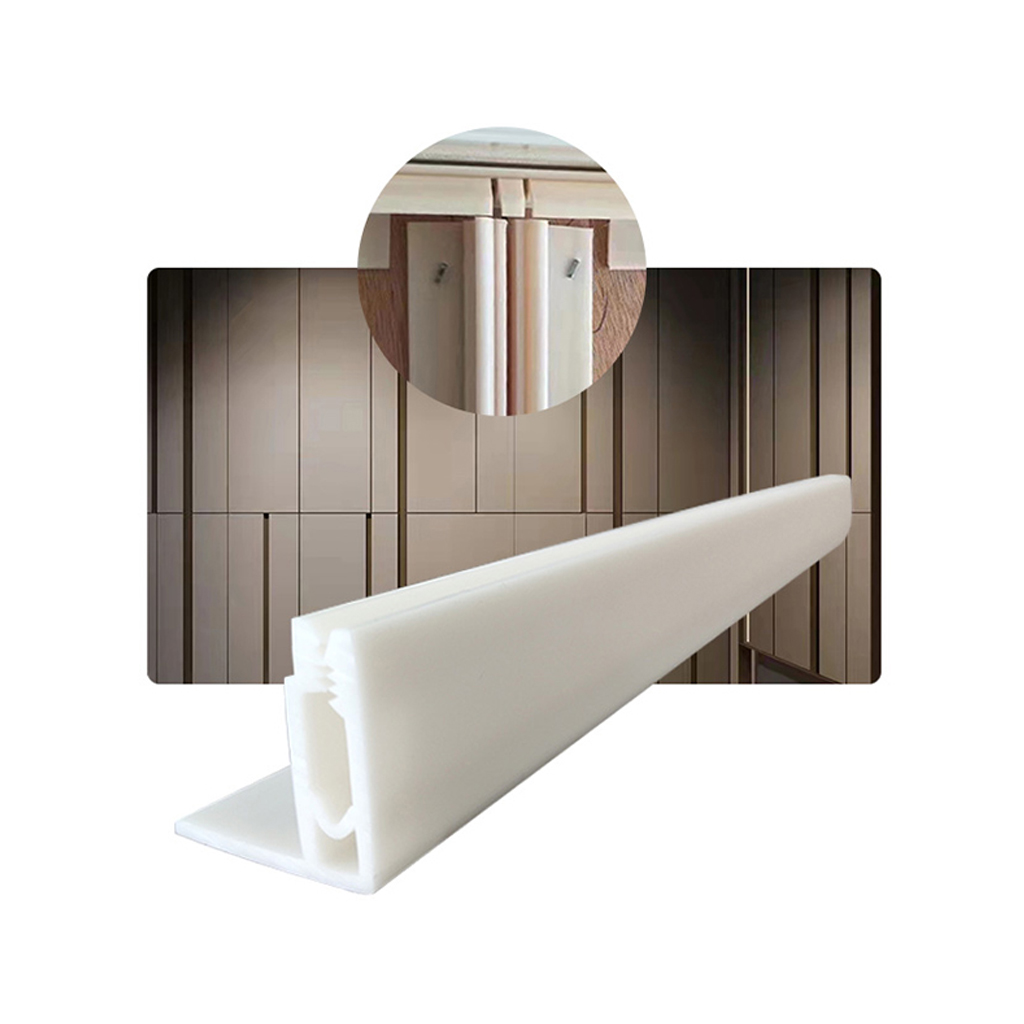
When specifying an acoustic fabric stretch track, start with the required finished depth, acoustic absorber thickness, substrate and edge detail. Confirm whether the system forms separate panels, a continuous field, radiused corners, door/window returns or removable access areas.
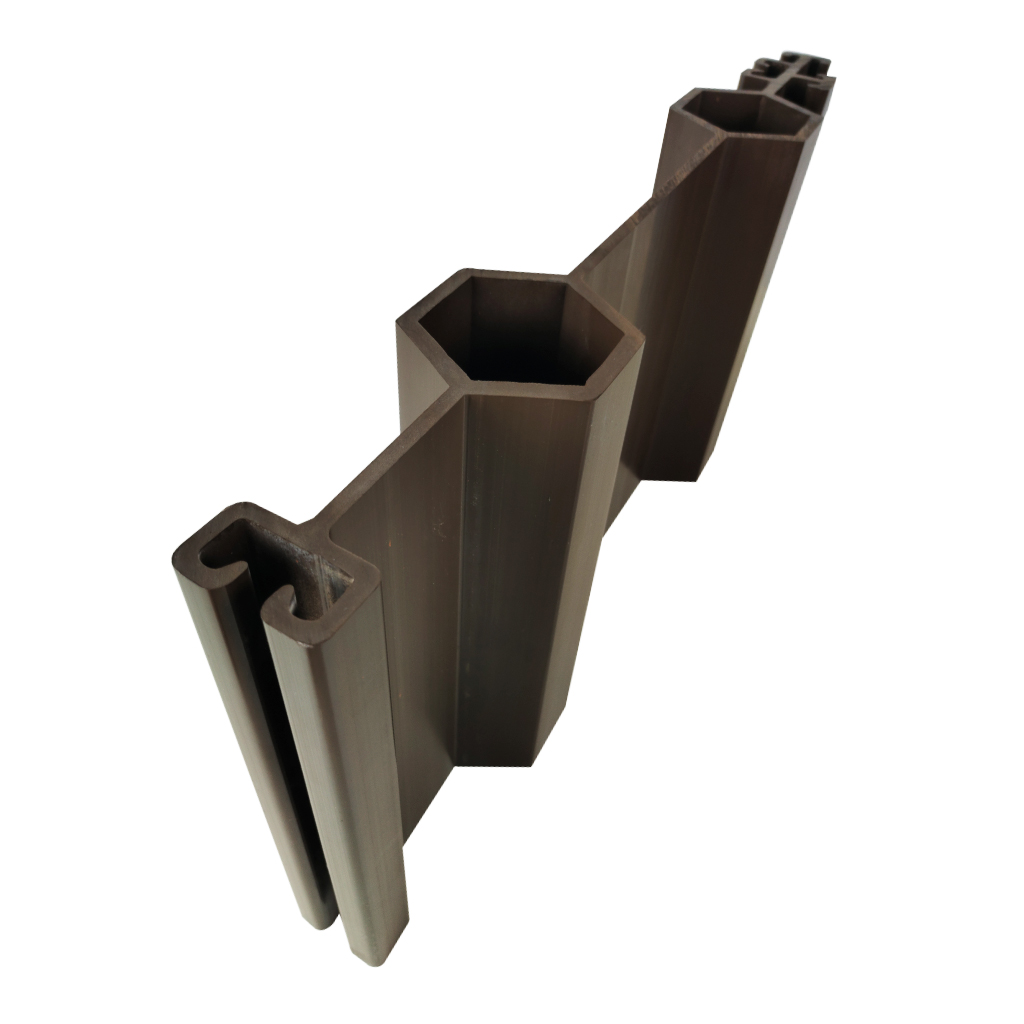
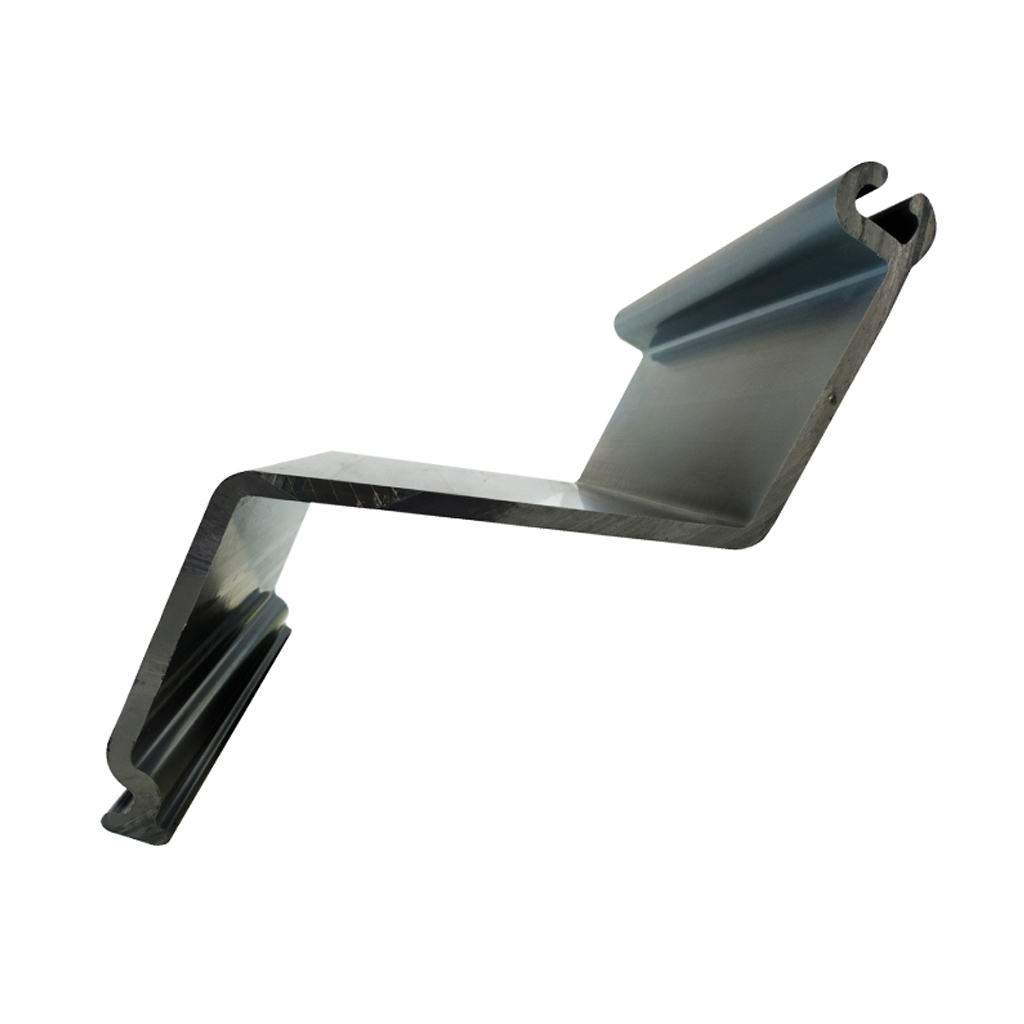
The profile family for an acoustic fabric gripper track should include drawings for exposed/recessed edges, inside/outside corners and mid-wall joints. Review the actual dimensions and compatible fastening pattern.
Test fabric thickness, backing and stretch in both warp and weft directions.
Check that teeth retain the textile without cutting yarns or showing through.
Confirm the fabric can be released and re-tensioned for correction or service.
Use the project-approved fabric, because a substitute may tension differently.
Evaluate seams and pattern alignment on a full-size mock-up.
Fasteners must suit gypsum board, wood, masonry or metal framing and transfer the installation tension without track movement. Set spacing from pull testing and geometry; tighter corners and transitions may need additional support.
Lay out reference lines before cutting track. Gaps, proud fasteners and misaligned joints can telegraph through the finish. Where adhesive is used with fasteners, verify its compatibility with the profile and fire specification.
Verify dry, flat substrate and coordinate penetrations.
Cut and fasten perimeter, corner and divider profiles to the approved layout.
Install acoustic core without gaps, compression or protruding fibers.
Set the fabric grain/pattern and engage opposite sides progressively.
Form corners and returns without over-stretching.
Inspect from normal lighting/viewing distance and correct ripples or alignment.
Do not trim excess fabric until tension and pattern position are approved. Keep the insertion tool clean and free of sharp damage that could mark the textile.
| Evidence | Scope to confirm |
|---|---|
| Fire test | Complete assembly or individual components; exact test method |
| Acoustic report | Core, air gap, fabric and mounting represented |
| Profile QC | Cross-section dimensions, color and grip features |
| Mock-up | Corners, joints, penetrations, pattern and repair method |
A component certificate should not be presented as proof for an untested assembly. The project team must confirm which fire and acoustic documents are required by the jurisdiction and specification.
No. Stretch, thickness, backing, acoustic transparency, fire classification and tooth compatibility must be evaluated.
Many track systems permit replacement, but removability should be tested with the selected profile and fabric.
The absorber and complete wall assembly provide the acoustic result; the track primarily retains and details the fabric.
Provide wall areas, finished depth, corners, joints, openings, substrate, fabric/core details and required profile colors.
RUIZHAN can review profile drawings and sample requirements for fabric wall systems. Build and sign off a representative mock-up that includes the hardest corner, joint and penetration before full installation.