

Search
Paint cracking at an MDF panel edge is rarely caused by one variable. The edge tape, board, adhesive, machining quality, primer, coating thickness, and curing profile act as one system. A finish may look acceptable after spraying and still split after handling, temperature cycling, or furniture assembly.
The most efficient troubleshooting method is to identify where the fracture occurred. A crack inside the coating, at the primer interface, between the edge tape and adhesive, or inside the MDF indicates a different corrective action.
| Observed failure | Likely mechanism | First check |
|---|---|---|
| Fine cracks only in topcoat | Coating too brittle or over-cured | Dry-film thickness and cure profile |
| Paint peels from tape | Surface energy or primer incompatibility | Tape surface treatment and primer |
| Line opens at panel joint | Movement or weak adhesive bond | Board moisture, adhesive spread, and pressure |
| Crack follows a routed corner | Radius below material/process limit | Profile radius and forming temperature |
Photograph the defect before destructive inspection, then cut a cross-section through both sound and failed areas. Record the production lot, board lot, paint batch, line speed, and curing conditions so the result can be reproduced.
A paintable surface needs controlled roughness, cleanliness, and compatibility with the selected primer. More abrasion is not automatically better: aggressive sanding can expose an inconsistent layer or create deep scratches that telegraph through the finish.
When evaluating paintable edge banding for MDF, request the recommended pretreatment, primer families, minimum bend radius, thickness tolerance, and sample procedure. Test the exact paint system rather than accepting a general statement that a tape is paintable.
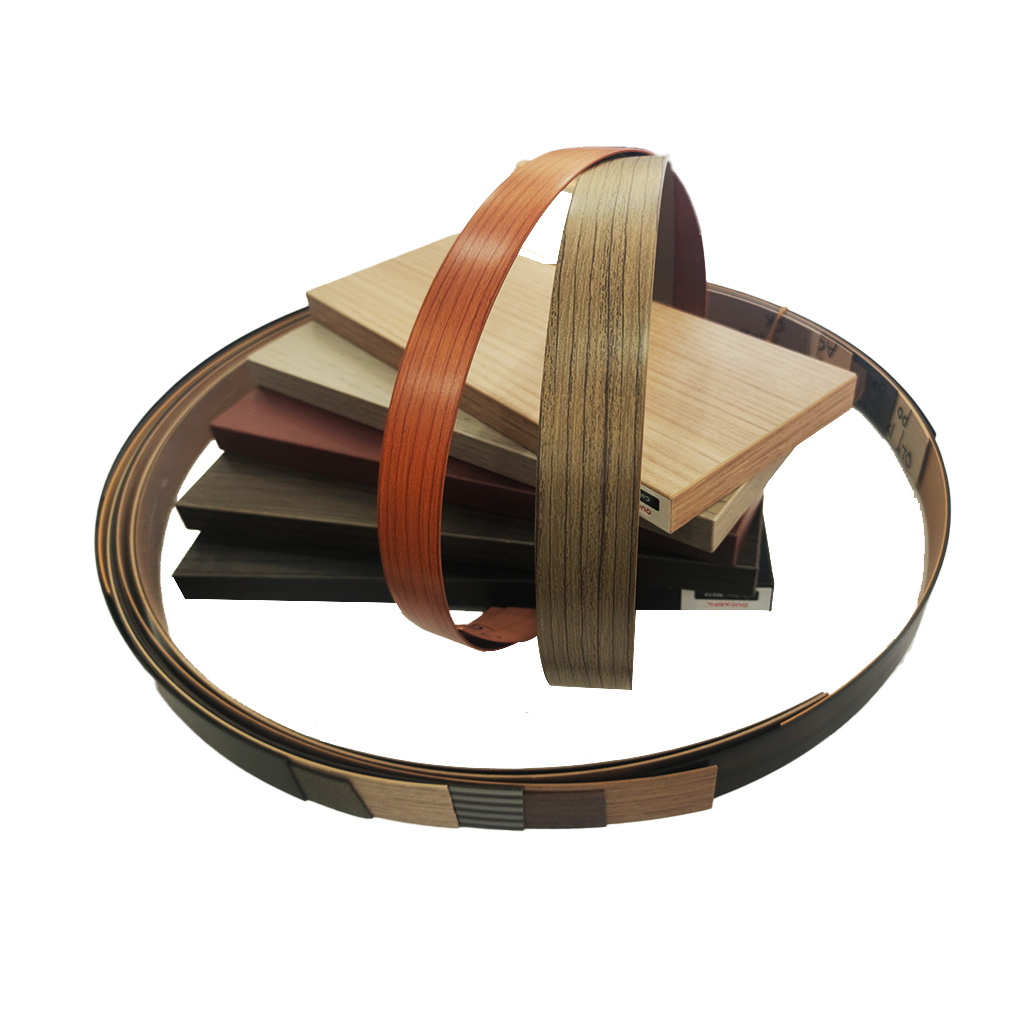
Condition panels and edge tape to a stable production environment before application.
Machine a clean, square edge without loose fiber, burnishing, or dust.
Use the adhesive temperature, spread, open time, and pressure recommended for the board and line.
Allow the bonded edge to stabilize before routing, sanding, and coating.
Avoid local heat that softens the adhesive or changes the tape surface.
MDF absorbs and releases moisture more readily at a machined edge than on the faces. A moisture change can create movement at the narrow interface. Include humidity conditioning in qualification when finished furniture will be shipped between climates.
Apply a documented primer weight and flash-off time. Excess solvent trapped under a fast topcoat can weaken the interface, while an overly dry primer may reduce intercoat adhesion. Measure actual part temperature in the oven; the displayed air temperature does not show the thermal history of the edge.
Approve the system after cross-hatch or pull testing, bending where relevant, impact/handling simulation, and warm-cold or humidity cycling. Define acceptance for cracks, blistering, visible joint lines, color, and gloss.
Hold the MDF, tape, and adhesive constant; compare approved primer options.
Hold the best primer constant; compare coating thickness and cure profiles.
Repeat the selected condition across multiple board and tape lots.
Condition finished samples for the destination climate and inspect again.
Lock the qualified settings in the work instruction and change-control record.
Only if the tape and coating supplier approve that system. Many production lines still require cleaning, light preparation, or a compatible primer.
Delayed cracks can result from solvent release, coating shrinkage, moisture movement, adhesive relaxation, or temperature cycling.
Not necessarily. Excess film build can increase internal stress and hide an incompatible interface until aging.
Send the MDF type, edge geometry, adhesive, primer/topcoat system, cure profile, finish target, and expected service environment.
RUIZHAN can review the tape dimensions, profile radius, and finishing process for an OEM trial. Approval should be based on repeatable production samples and aged performance, not a freshly painted visual sample alone.