
Search
A T-molding sample can look excellent on a workbench and still cause trouble during a production run. The visible cap, insertion stem and routed panel groove all have to work together. Furniture teams can avoid avoidable rework by testing the actual combination of board, tooling and edge trim before approving bulk production.
Record the panel material, nominal thickness, edge radius, exposure to cleaning, and the appearance required on the finished table. A tabletop that has a long straight edge may behave differently from a compact rounded desk. The selection brief should explain where the trim must bend, what level of edge coverage matters, and whether the installation method is based on a routed groove.
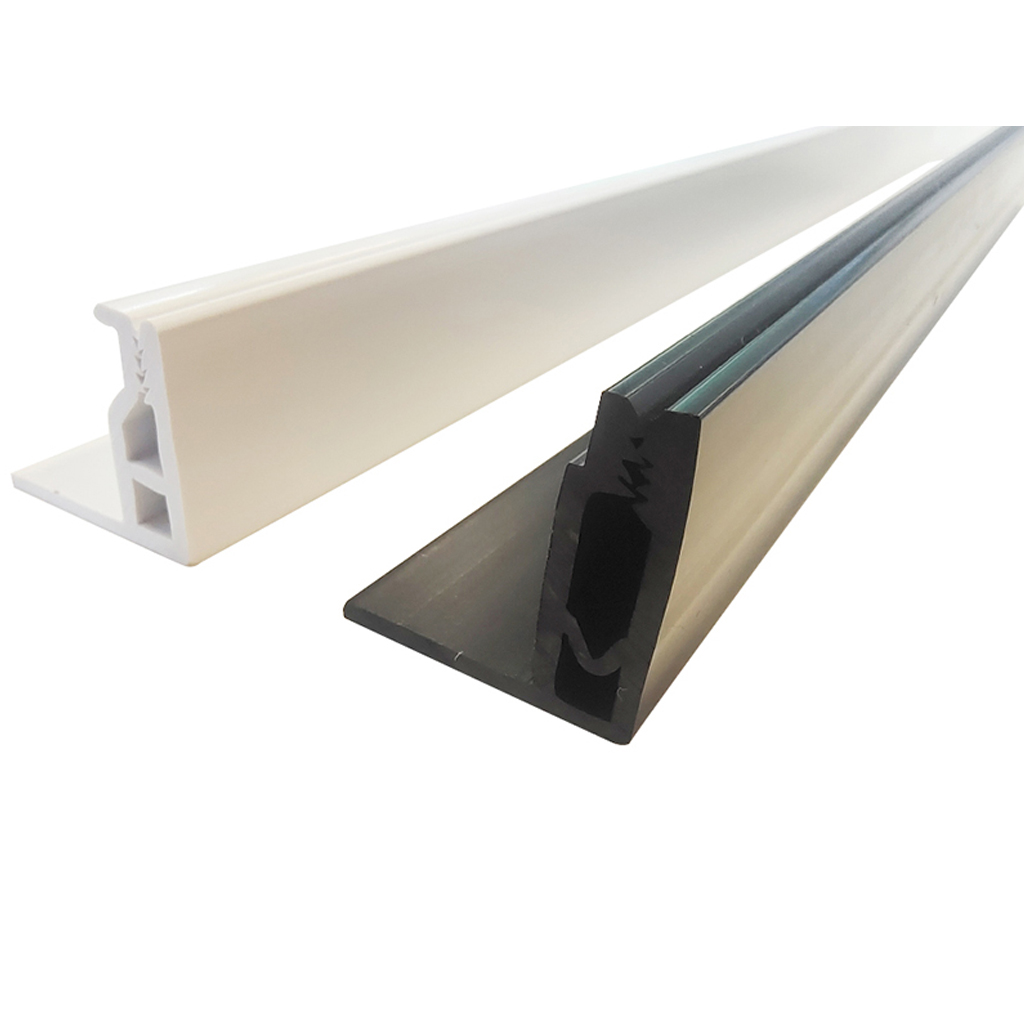
For furniture designs that need a protective, resilient edge, compare the available anti-collision T-strip profiles against the actual panel geometry. The goal is to select a cross-section that fits; the product name alone is not a substitute for a drawing.
Measure the visible cap against the finished panel. Confirm that it covers the edge consistently, does not create an unwanted overhang and has the desired shape at the corner. Where a curved edge is involved, inspect whether the cap changes appearance when bent to the design radius.
The stem enters the routed slot and the retaining barb creates mechanical grip. Compare the stem shape and projection with the proposed groove width and depth. A drawing should identify the critical features, not merely a nominal face width. Do not infer tolerance acceptance from a photograph.
Check whether the selected profile can follow the planned radius without visible whitening, kinks or an uneven lip. Different grades and geometries behave differently; obtain supplier confirmation for the chosen specification and compare physical samples on the intended board.
Machine a short test groove using the same board type and cutter planned for production.
Measure the slot at several points and record the cutter, depth setting and board condition.
Install the sample without forcing it. Look for local deformation, lift or uneven seating.
Repeat the trial on an inside and outside curve when both occur in the furniture design.
Inspect the finish under normal room lighting and after realistic handling.
If retention is weak, do not immediately assume that a harder profile is needed. The cause may be groove width, cutting variation, insufficient insertion depth, barb geometry or the panel substrate. Correct the root of the mismatch, then repeat the test.
Fit defects include a cap that will not seat flush, a stem that slips out, or a profile that twists around curves. Visual defects include a color mismatch, changed gloss, visible stress marks or uneven alignment at the joint. Record them separately so the sample approval identifies the right corrective action.
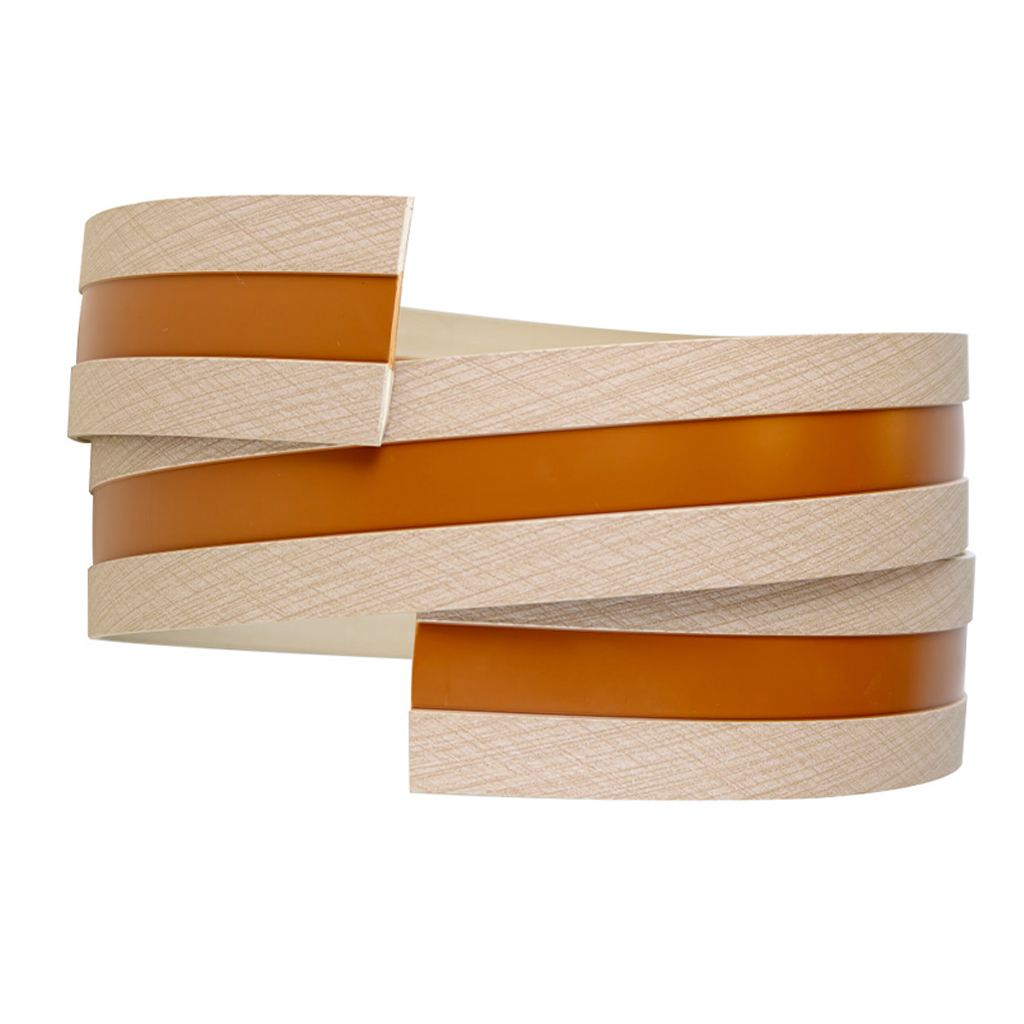
For irregular furniture designs, the curved-board application example illustrates why bend behavior and edge appearance should be evaluated together. Its project-specific claims should not be used as a substitute for testing a new panel-and-profile combination.
Panel: supplier, material, thickness, edge treatment and intended finish.
Profile: drawing revision, material designation, face width, stem/barb cross-section and color sample.
Groove: target dimensions, cutter details and acceptable variation set by the engineering team.
Trial: straight sections, minimum design radius, joint and corner appearance, and retention observations.
Approval: photographs, annotated defects, approval date and controlled sample reference.
This is a more useful purchase specification than a single line saying “T edging, black, 20 mm.” It also gives a manufacturer a clear basis for reviewing whether a standard tool or a different profile is appropriate.
Start with an available design where the cross-section meets functional needs. If the table design requires a different face shape or insertion stem, supply a dimensioned drawing and a board sample. The T-molding edge banding range shows current profile families to discuss before making a custom tooling decision.
For quoting, share the approved drawing, expected annual use, target finish, application radius and the test observations. Confirm tooling, sampling, MOQ and production acceptance criteria with the supplier rather than treating any general marketing statement as a specification.
A picture can help shortlist profiles, but the profile should be evaluated using a dimensioned section drawing and a physical groove-fit sample on the actual board.
No. An overly tight groove may distort or damage the trim. The intended stem, barb and slot geometry need to be validated together.
Send the panel details, required edge shape, section drawing or physical sample, bend radius if relevant, finish reference and forecast quantity. Ask for a sample before bulk approval.
Share a drawing and board sample with Ruizhan to review T-molding options, test-fit requirements and a practical sample approval plan for your furniture project.