
Search
Many acoustic fabric wall problems first become visible where the fabric meets something else: a corner, a doorway, an access hatch or a change in wall depth. A fabric gripper system must be coordinated as part of the entire finish assembly. A good detail review therefore checks the wall layout, track profile, selected textile and installer sequence before the field team starts cutting.
Start with the approved reflected elevation. Mark each outside corner, inside corner, window return, recessed reveal, joint and panel that will need future access. Record which edges remain visible and where fabric must turn out of sight. Some transitions will use different trim shapes, even when the same fabric covers the entire wall.
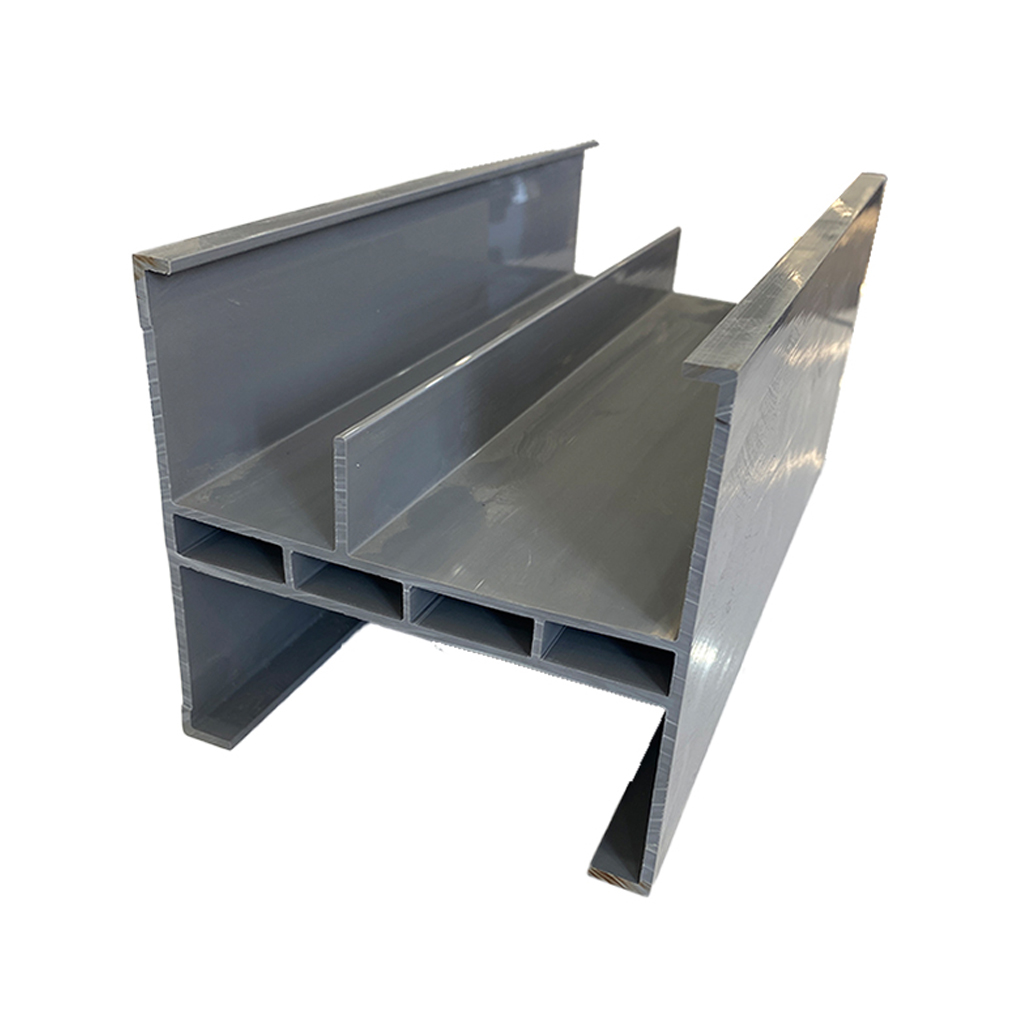
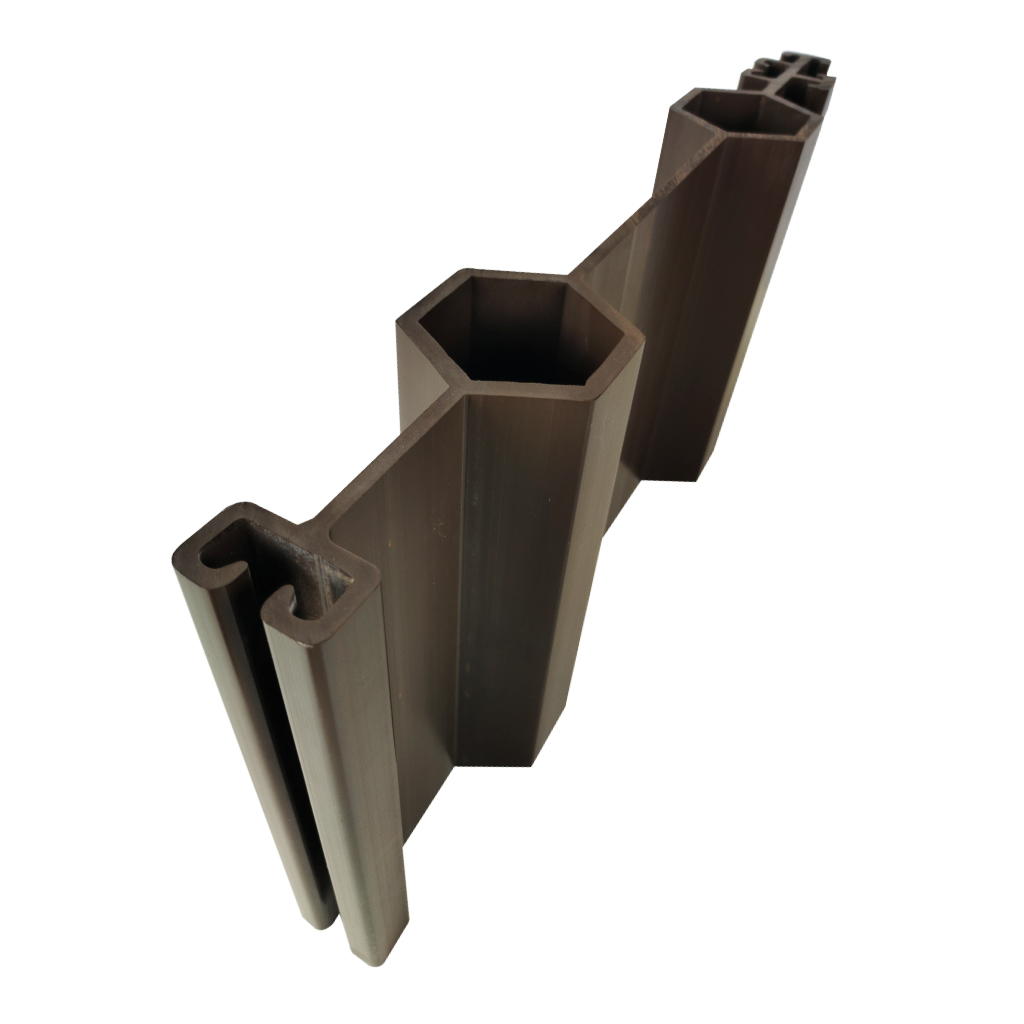
The available fabric wall track system includes alternative profile types. Match the chosen profile to the required edge condition instead of assuming that one cross-section works in every location.
Outside corners are vulnerable to contact and can reveal small alignment errors. Check the depth of the intended finished assembly, the corner return, fastener support and how the fabric will enter the track without excessive local strain. A representative mock-up should include the sharpest outside corner in the project.
Inside corners can trap a fold or create unwanted shadows when profiles or absorptive infill meet unevenly. Verify the actual backing plane and how the track junction will be cut. Plan the fabric-insertion sequence so that tension is distributed across the panel rather than concentrated at one short edge.
Large walls often need divider tracks, seams or deliberate architectural breaks. Plan these around the chosen fabric width, print repeat, access requirements and lighting. Decide in advance whether the specification calls for a visually continuous field or clear panel-to-panel joints. Do not promise invisible seams without testing the textile, lighting and assembled detail.
A gripper profile retains the fabric; it does not determine the acoustic performance of a wall by itself. Acoustic and fire claims must be supported by documentation for the relevant materials and completed assembly. Keep component specifications separate from tested wall-system performance.
Access panels, electrical services and inspection hatches need additional coordination. Identify which fabric panels must be removable and whether the chosen trim can release and re-tension the actual textile without damage. Verify the location of fastening points and plan how an installer will reach them after completion.
Where maintenance access is required, the design review should record how the panel edge can be opened and then returned to a neat finish. Never infer removability only from the words “stretch track” or “fabric gripper.” Test the specific profile and fabric combination.
Substrate: establish whether track fixes to timber, gypsum board, metal framing or masonry and obtain appropriate fastener guidance.
Finished depth: verify the position of acoustic infill, air gap if any and visible track edges.
Fabric: approve thickness, stretch characteristics, backing and pattern orientation.
Transitions: confirm corner profiles, joint details and opening returns from drawings.
Mock-up: include difficult geometry, seams, a service opening and actual light conditions.
A track may sit straight in a shop photograph but drift on an uneven wall. Check substrate flatness and reference levels before installation. Fastener type and spacing must be designed for the actual substrate and fabric tension, not taken from an unrelated project.
Approve wall elevations, edge transitions, access requirements and panel segmentation.
Obtain profile cross-sections, textile samples and the intended substrate details.
Construct a representative corner and joint mock-up with the approved materials.
Test insertion, tension, appearance and safe removal where relevant.
Record any change to profile, fabric, backing or fixing before sign-off.
Release production quantities only against approved specifications and drawings.
For buyers evaluating profile alternatives, compare the available acoustic fabric gripper options using drawings, material requirements and actual fabric-grip testing. Avoid choosing purely by the name or marketing description of the component.
Not necessarily. A design may need different profiles for corners, mid-wall joints, straight edges and access panels. Check the available cross-sections against each condition.
No. The track retains the fabric and creates a finished detail. Acoustic results depend on the specified absorber, cavity, substrate, mounting and whole system.
Provide elevations, sections, dimensions, substrate, fabric/core data, corner and opening locations, required colors and target quantities.
Send Ruizhan the approved wall sections and the most demanding detail to discuss possible fabric gripper profiles and a representative sampling plan.